5 Essential Videography Tips for Beginners
Diving into videography can be a blast, whether you’re doing it for fun, for a job, or just exploring a new hobby. For beginners, figuring out how to film, edit, and tell a story might feel overwhelming. No worries! Here are 5 essential videography tips for beginners to help you get your videography journey started.
1. Get to Know Your Gear
Before you start recording, it’s important to understand the gear you’re working with. First things first, you’ll need a camera. Luckily, today’s phones in our pockets are perfectly capable of capturing exceptional video. Regardless of your camera choice, knowing how your equipment works is key, so do your research!
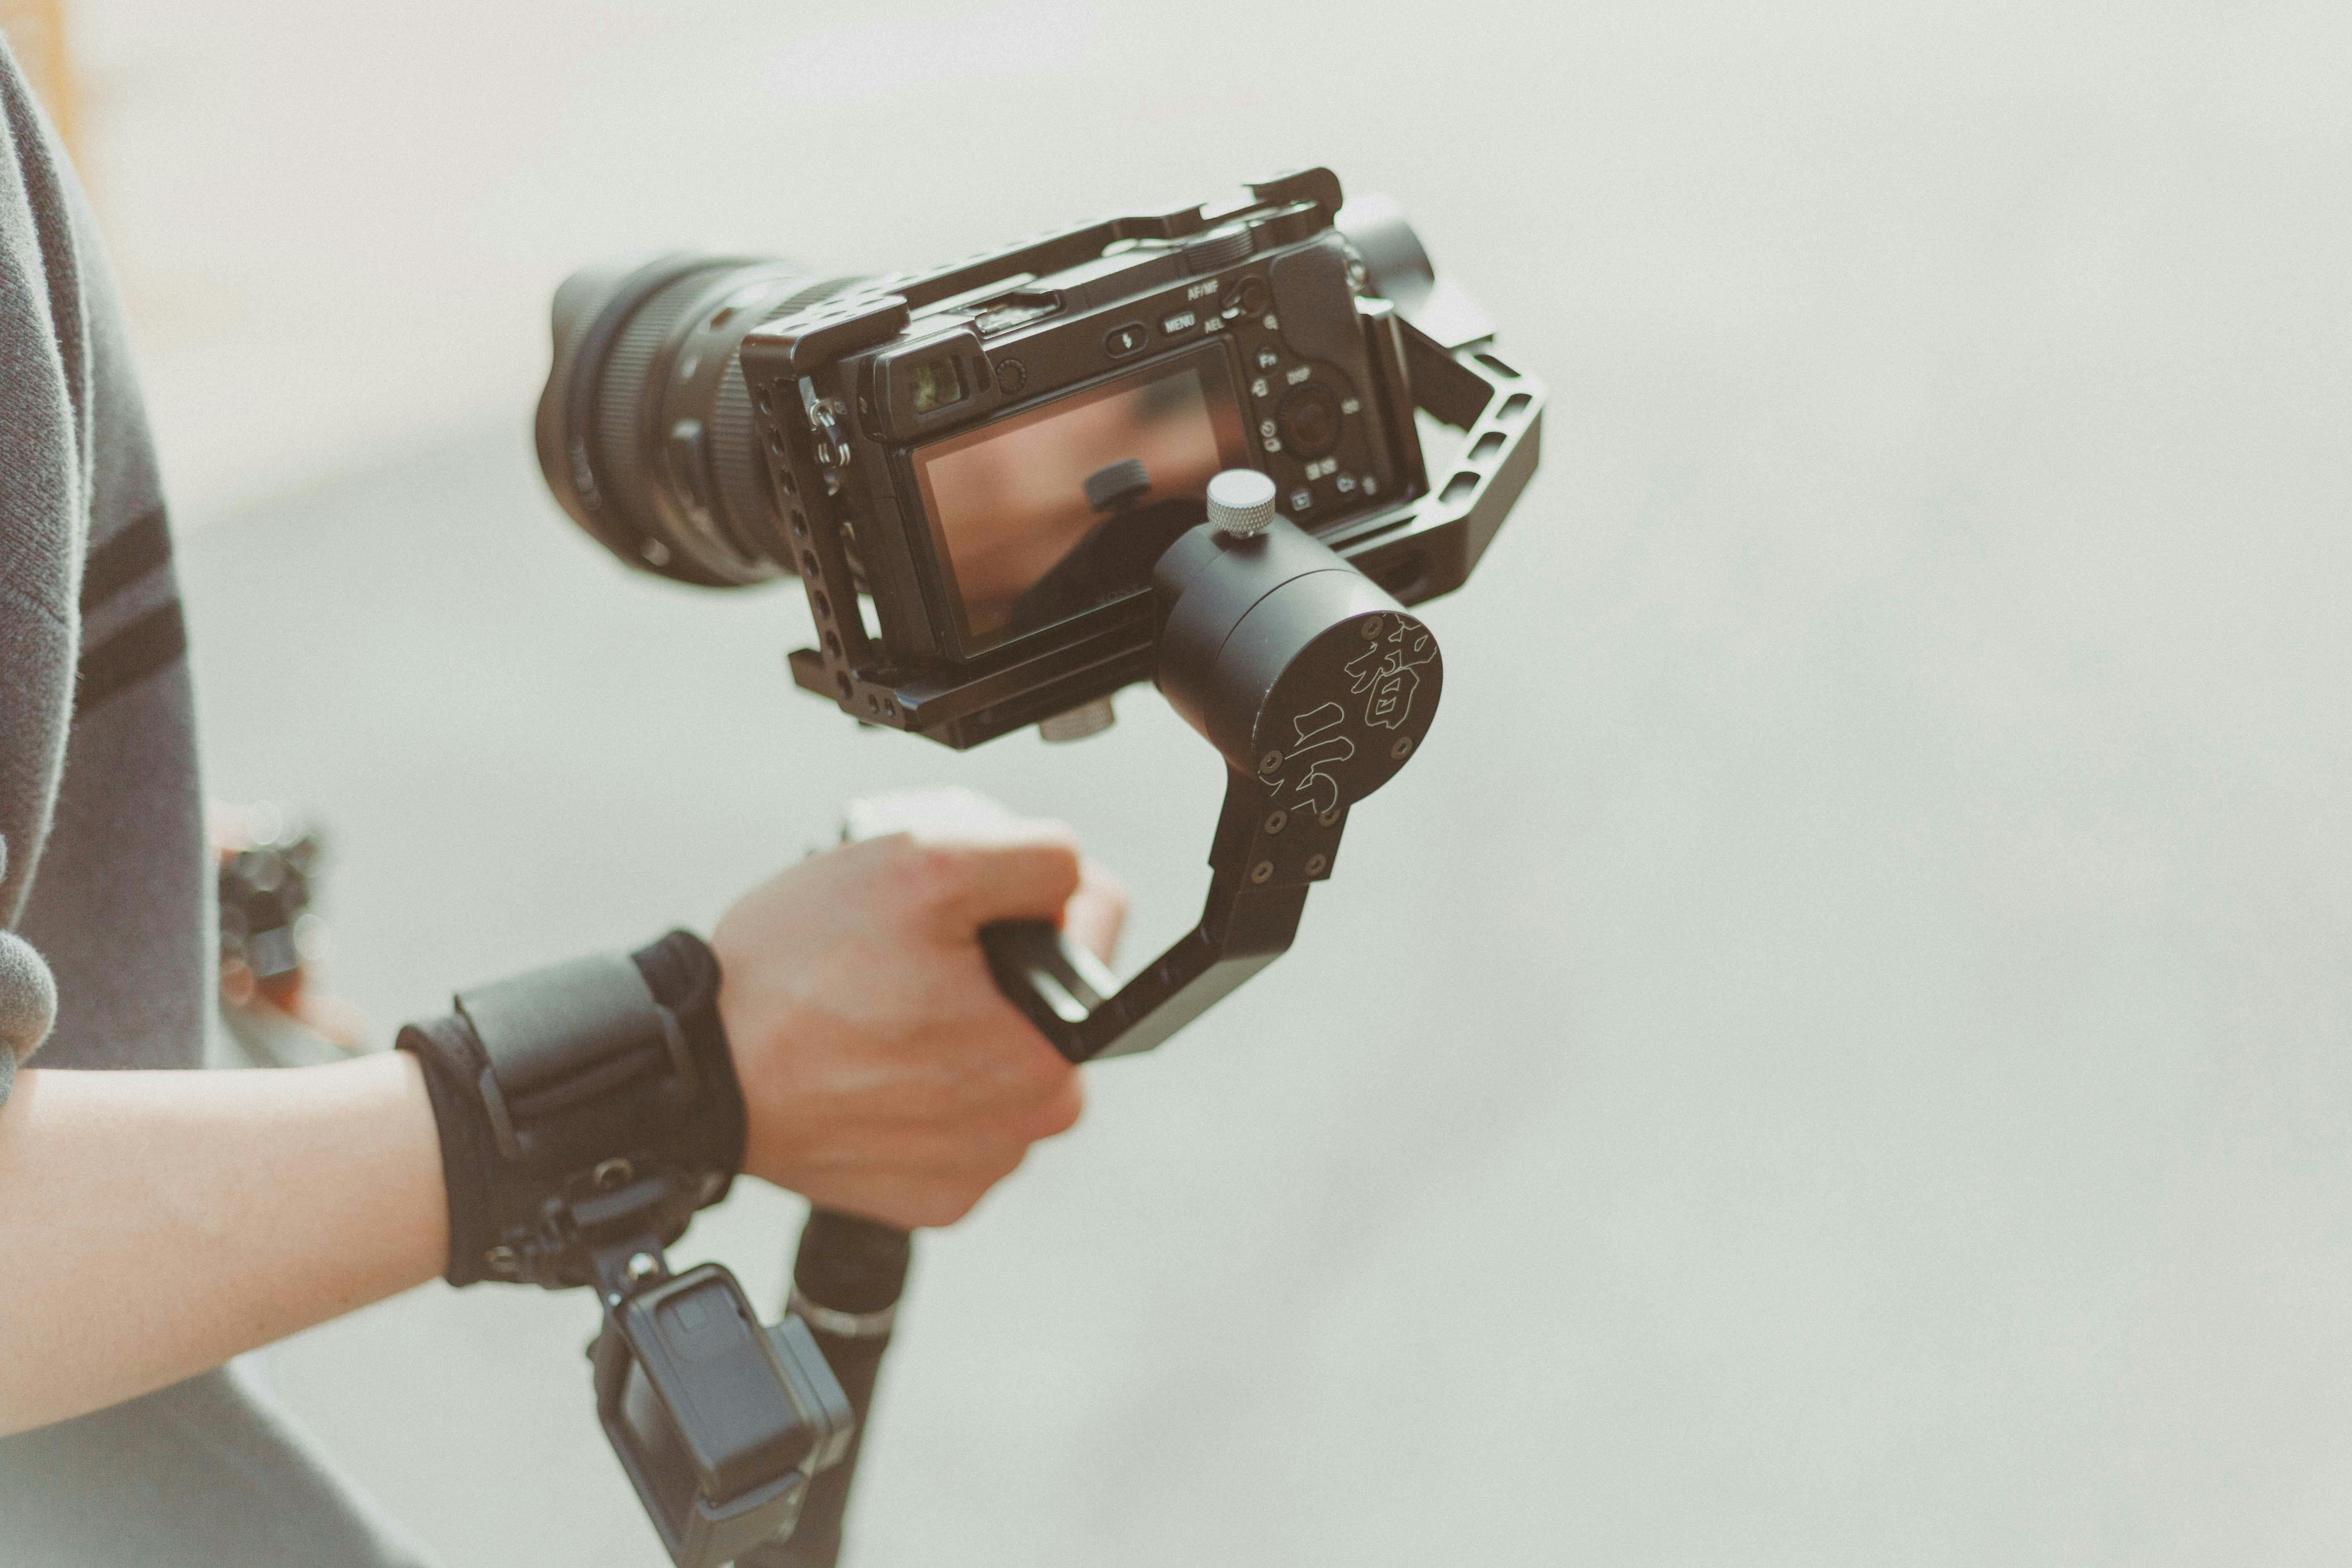
- Camera Settings: Learn about resolution (like 1080p vs. 4K) and frame rates (24fps for that movie vibe or 60fps for smooth action). These settings can make a huge difference in how your video turns out. Also, read up on white balancing; nailing the whites in the camera goes a long way in producing high-quality results
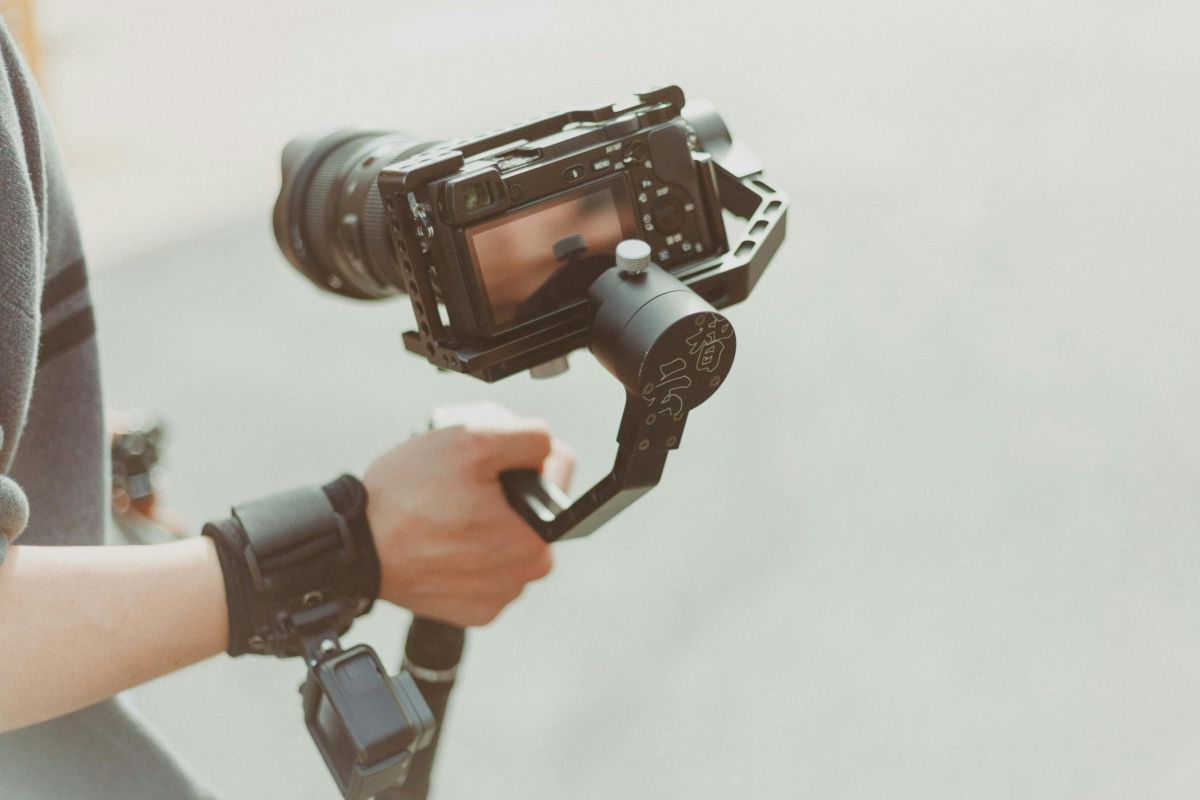
- Stabilization: No one likes shaky footage. A tripod, gimbal, or even a simple handheld stabilizer can help keep your shots steady. It’s worth the investment!
- Audio Equipment: Good audio can make or break a video. If you can, use an external mic and keep an ear out for background noise. Clear audio makes your video feel more professional.
Learning the nitty-gritty of your gear is the first step in your journey as a beginner videographer. Browse sites like B&H Photo to start building out a kit. Beware: There are many cool tools and pieces of equipment, but being a gearhead without the skills to match is an expensive path to go down. Start small with the bare essentials and purchase according to your needs. This is just one of five essential videography tips for beginners; keep reading to learn the rest!
2. Master Composition Basics
Composition is all about arranging visual elements in your frame. It’s crucial for storytelling and making your video engaging. Here are a few basics:

- Rule of Thirds: Imagine your frame is split into nine parts with two horizontal and two vertical lines. Place important elements along these lines or where they intersect to make your shots more balanced and interesting.
- Leading Lines: Use lines in your environment to guide the viewer’s eye toward your subject. This adds depth and can make your shots more dynamic.
- Framing: Make sure your subject is well-framed. Check for enough headroom and use foreground and background elements to add depth.
- Angles and Perspective: Play around with different angles and perspectives. Your point of view is unique so show it off!
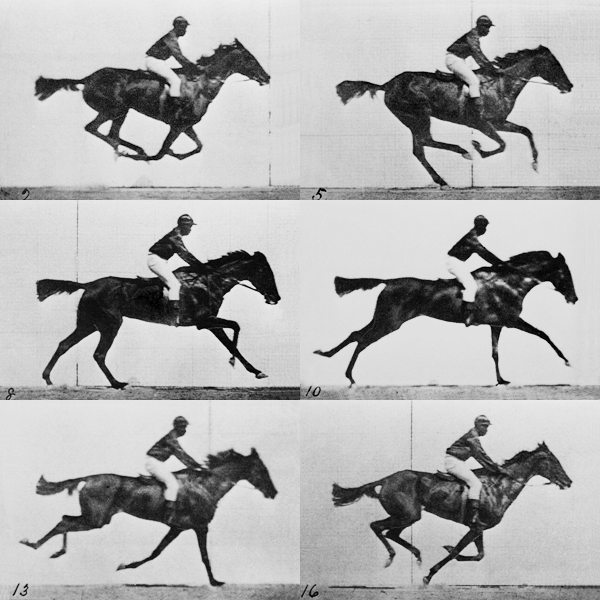
Photography and videography go hand-in-hand. After all, videos are just many images cut together to form the illusion of motion-hence, motion pictures. If you imagine that every still of your shot would make a pleasing photograph on its own, you’re on track to producing a beautiful video to be proud of. History lesson: The GIF on the right is called The Horse in Motion, an example from 1877 that’s touted as “the world’s first bit of cinema.”
3. Plan Your Shots
Planning ahead can save you a lot of time and hassle. Storyboarding is a great way to map out your shots before you start filming. You can find a template to start your first shot list here!
- Create a Shot List: Write down all the shots you need and their order. This will help ensure you don’t miss anything and keep your video on track.
- Sketch or Use Software: You can draw simple sketches of each scene or use storyboarding software. It doesn’t have to be super detailed-just enough to give you a clear plan.
- Think About Lighting and Location: When planning, consider the lighting and location. Natural light is great, but you might need extra lighting for indoor or low-light shots.
Any shoot without a shot list or storyboard backing it up is doomed to be a nightmare for everyone involved. Save yourself the headache and conceptualize the video before you even pick up the camera. That way, once you’re on set, you know what needs to be done and won’t miss anything important. Of course, unforeseen circumstances will arise, but showing up with a plan makes your vision so clear that these obstacles won’t stop you from getting that shot and showing off your point of view!
4. Focus on Lighting
Lighting can make or break your video. Good lighting can set the mood, highlight your subject, and make everything look more professional.
- Natural vs. Artificial Light: Natural light is nice but not always reliable. Use artificial lighting to get consistent results and control your environment.
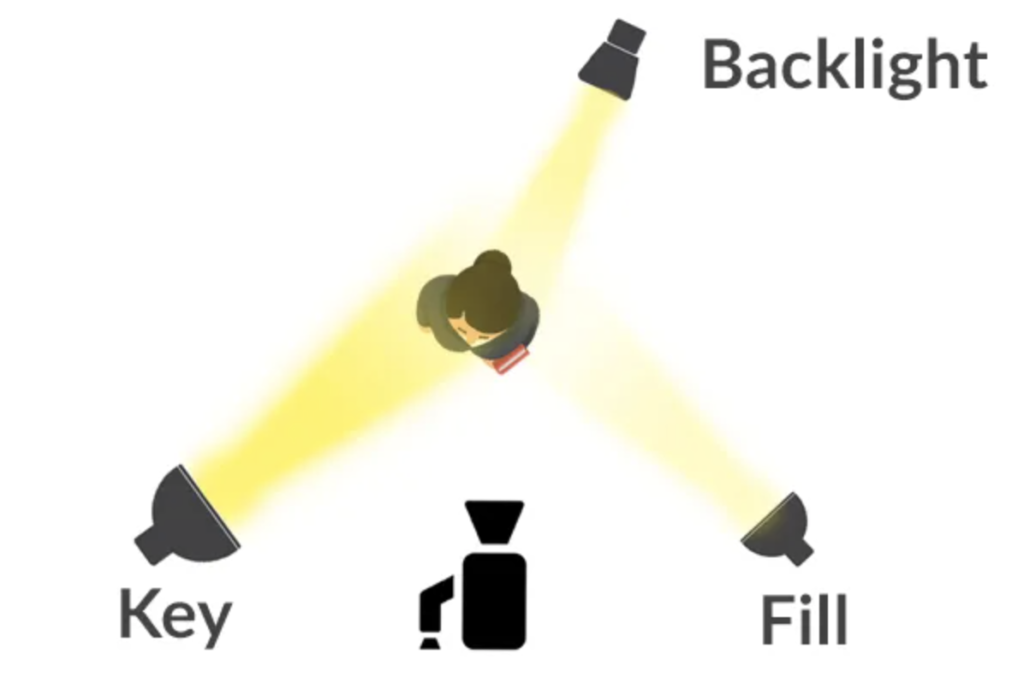
- Three-Point Lighting: This classic technique includes key light (main light source), fill light (to soften shadows), and backlight (to separate the subject from the background). It’s a tried and true way to light up your scenes.
- Avoid Harsh Shadows: Use diffusers or softboxes to soften indoor light and reduce harsh shadows. For outdoor shoots, aim for early morning or late afternoon for the best light.
Light is fundamental to how cameras work; like fuel in a car, a camera needs light to operate. As a videographer, use light to your advantage to make your subjects shine. While modern cameras can produce quality images with minimal light, they really excel in properly lit spaces. Whether that means using three-point lighting to capture someone speaking in an office or waiting until the sun is at the perfect position to nail that landscape shot, the quality of your video depends on these moves.
5. Edit with Intention
Editing is where everything comes together. Good editing turns your clips into a cohesive story and makes your video shine. After making a shot list, and executing those shots, it’s at this point your project finally comes to life!
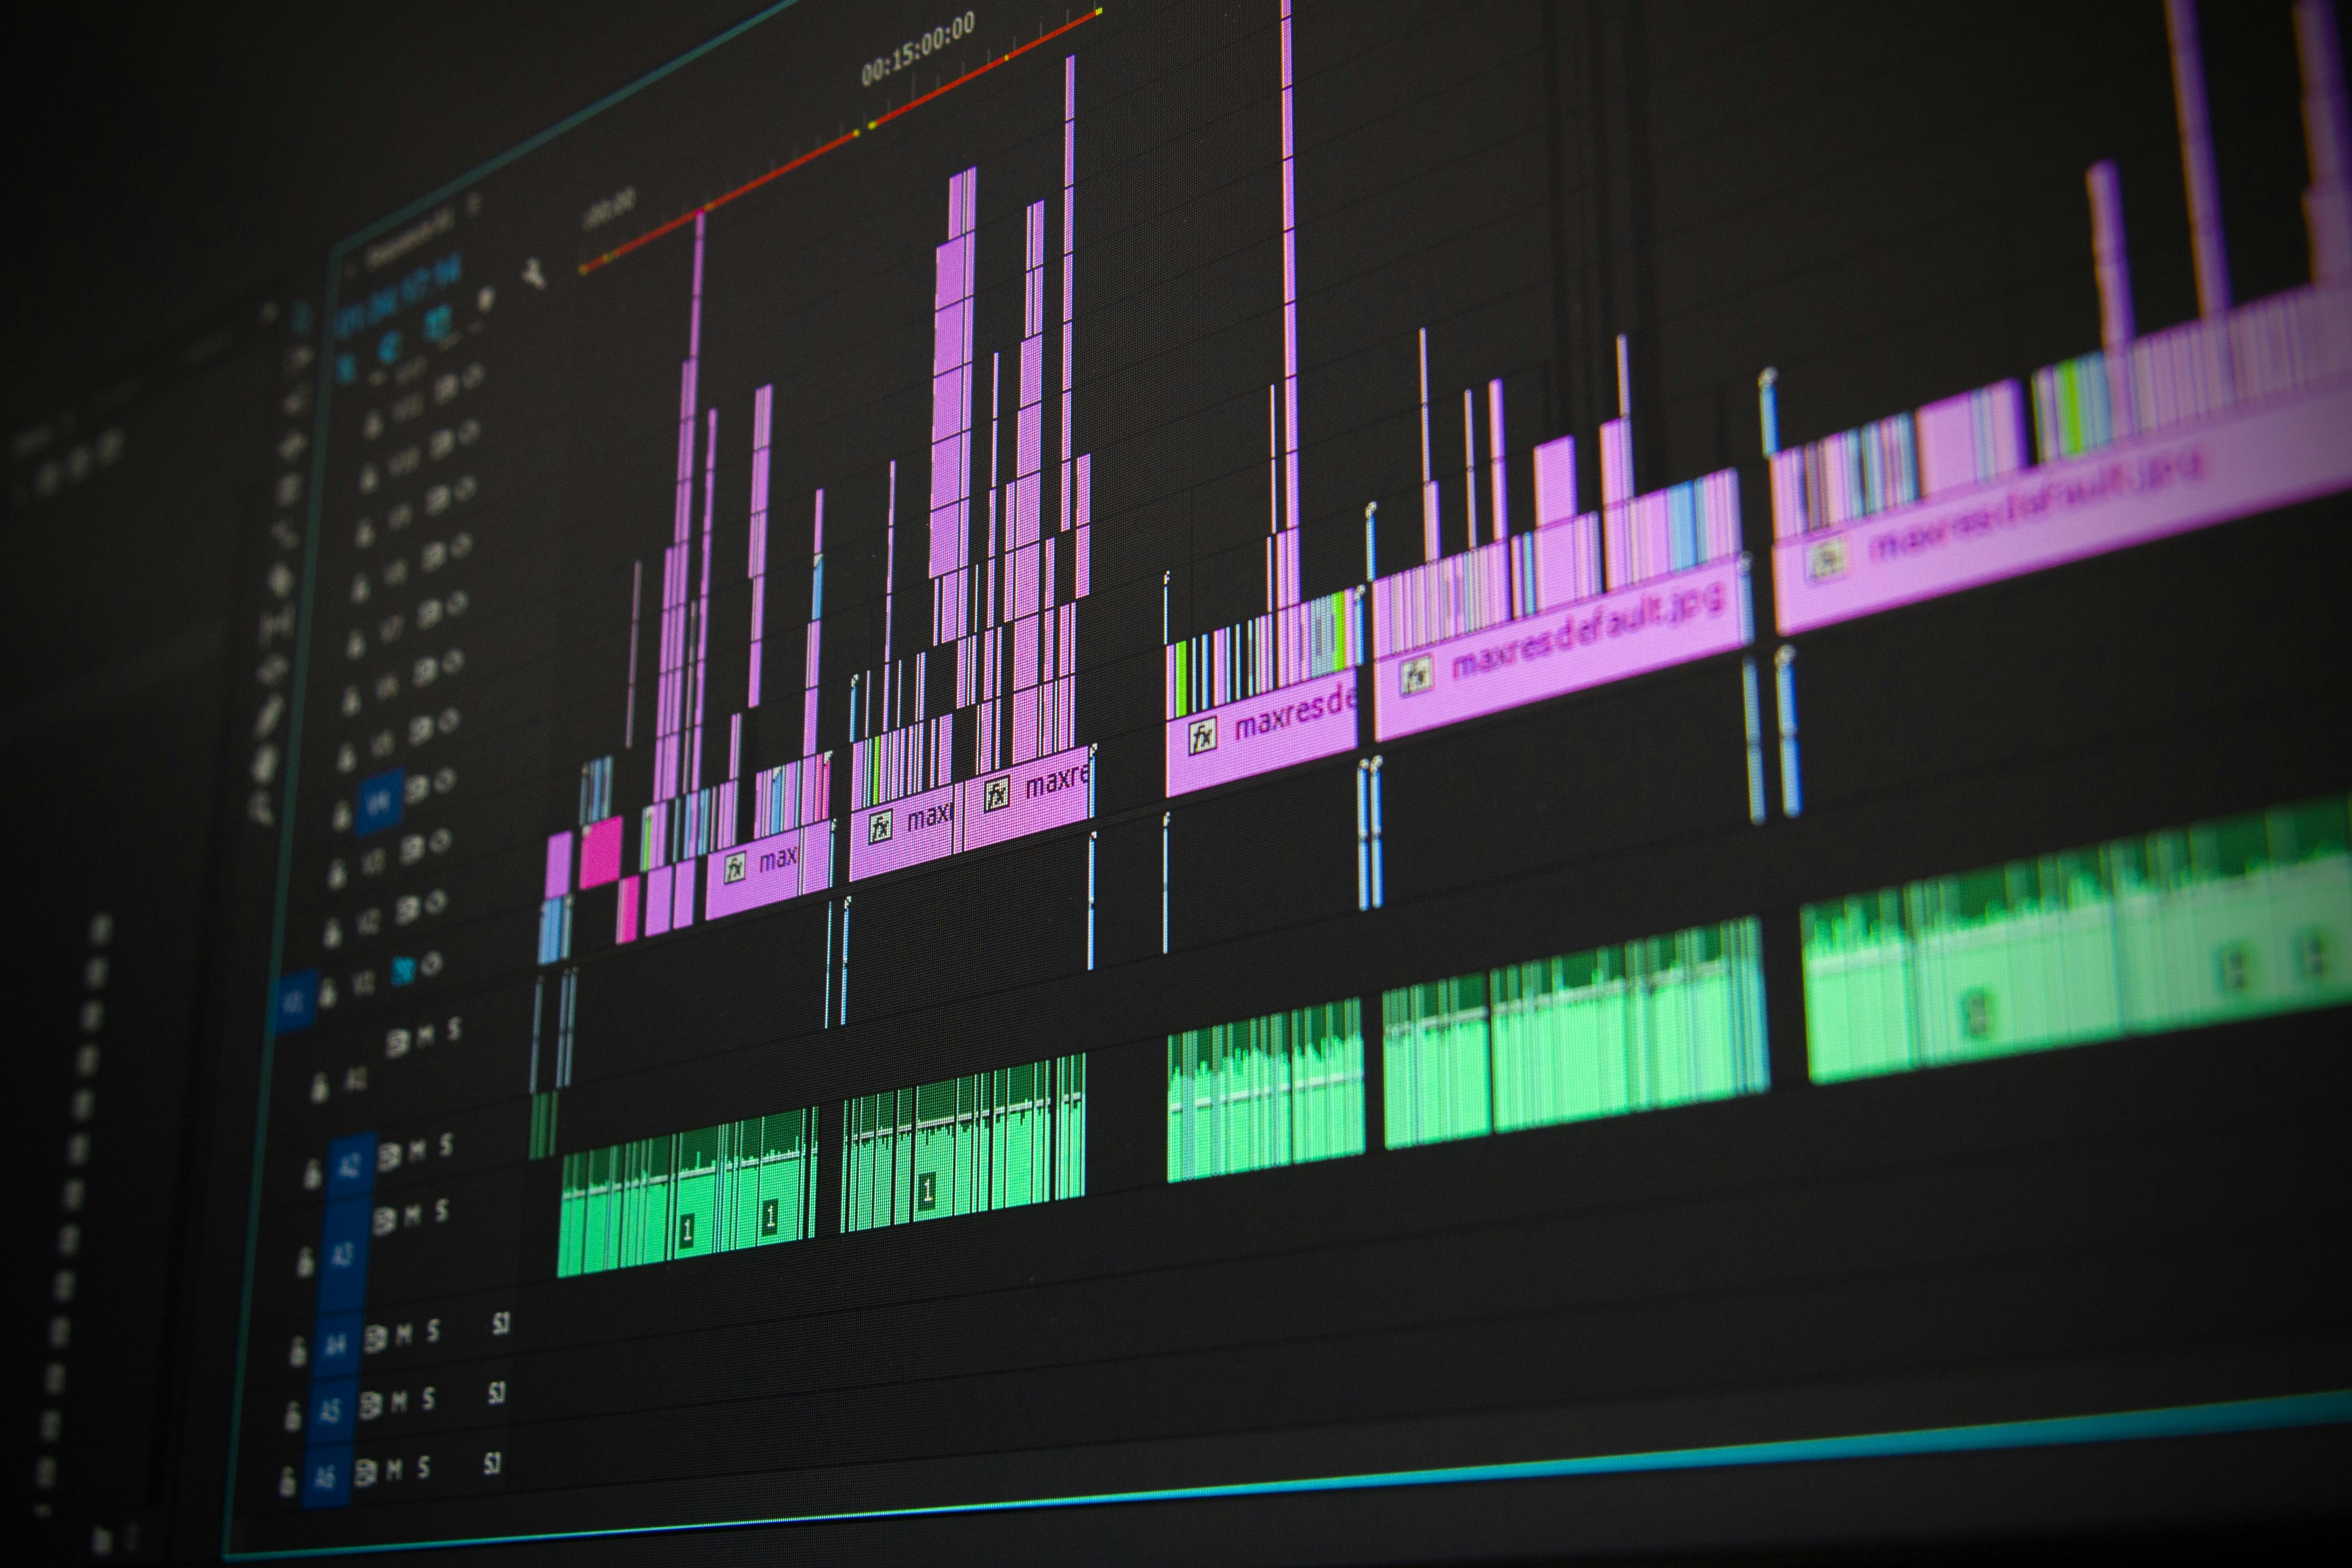
- Choose the Right Software: Pick an editing tool that matches your needs and skill level. From beginner-friendly options to professional software, find what works best for you.
- Trim Wisely: Be selective about what footage you use. Cut out anything unnecessary and focus on the clips that best tell your story. A well-edited video packs more punch. Think of it as sharping a knife, any excess dulls effectiveness.
- Use Transitions Sparingly: Transitions can enhance your video but don’t overdo it. Simple transitions are usually best for keeping things smooth and professional.
- Add Music and Sound Effects: Music and sound effects can really polish up your video. Choose tracks and effects that match the vibe of your content and improve the overall experience.
The best shots in the world are nothing if they are poorly cut together. On the flip side, great editing makes the mundane exciting, but it’s up to you to get creative and make it happen! Next time you watch a film, pay close attention to the intentional decisions made by the editor and how they affect your emotional response to the images.
Conclusion
Videography is a mix of technical skills and creative fun. By getting to know your gear, mastering composition, planning your shots, focusing on lighting, and editing carefully, you’ll be well on your way to making awesome videos. And don’t forget, follow your passions! Shoot the content you want to see and show the world your point of view. Practice these 5 essential videography tips for beginners, experiment with different techniques, and most importantly, have fun with it! With time and a bit of dedication, your videos will keep getting better and more impactful. Want more? Read our guide on how to become a videographer!
Looking to hire a videographer in the San Francisco Bay Area? Contact Luma Creative today!

William Cook
William founded Luma Creative to bring elevated, story-driven video production to corporate, tech, and nonprofit clients in San Francisco. With over a decade of directing experience across commercial, corporate, and other video projects, he leads with calm under pressure, sharp creative instincts, and a client-first mindset.

